


Melted crayon art is super cheap but it looks totally cool on your wall. It is a great way to spice up your room and make it more colourful and vibrant. Everyone needs to try this at least once, in their lifetime!
Materials: A canvas, blow dryer, packs of crayons, newspaper, hot glue gun
Steps:
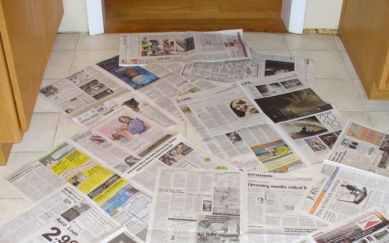
- Place your newspaper on the floor or on wherever you’re going to blow dry your crayons. Tip: Get LOTS of newspaper! This DIY is meant to get messy!

2. Sort out the crayons by colour and place them in the order you want it to be. Once you’ve settled with the order you like, hot glue the back of the crayon, and firmly place them on the top of your canvas. 

3. OPTIONAL – If you want a silhouette or an image on your canvas, print it, cut the shape out, glue it onto your canvas. Then cut out another piece of paper (big enough to cover your silhouette, place it above your image, and carefully tape the sides. this way, the melted crayons won’t splatter onto your image. Tip: Put extra tape when you’re taping your cover because sometimes the melted crayons would slip inside your tape. 

4. Now start blow drying your crayons. It can get very messy so it is suggested you wear ragged clothes when doing this DIY. It is also recommended that you cover your blow dryer as well as the crayons can make your blow dryer colourful too. Also, make sure you point your blow dryer downwards so that the crayon would melt straight downwards. Unless you want the crayons to melt diagonally, then point your blow dryer to the direction you want your crayons to melt. 

5. Let your wax painting dry while you clean up the mess. If you taped a piece of paper to cover your silhouette earlier, carefully uncover the silhouette by ripping the tape off.
6. Now that you’re done, you can display it or wrap it up as a gift!

